Cap de Vase d'Expansion Honda Civic/CRV : La Solution Miracle (2001-2005) !
Cap de vase d'expansion Honda Civic 2002 fuite : remplacer bouchon, liquide de refroidissement, surchauffe moteur, joint d'étanchéité, fissures, durites.
Problèmes de liquide de refroidissement Honda CRV 2004 : bouchon défectueux, perte de liquide, radiateur, thermostat, purge du circuit, température moteur élevée.
Bouchon de vase d'expansion Honda Civic 2001 et 2005 : compatible, prix, référence, pièces détachées, OEM (Original Equipment Manufacturer), aftermarket, site internet.
Diagnostic Cap de vase d'expansion Honda : symptômes, bulles dans le vase, pression, tests, étanchéité, corrosion, remplacement facile.
Honda Civic/CRV 2001-2005 surchauffe moteur : vase d'expansion et bouchon, joint de culasse, contrôle du circuit, maintenance préventive, température anormale, risque de casse moteur.
Remplacement bouchon vase expansion Honda Civic/CRV : tutoriel, comment faire, étape par étape, clé dynamométrique, serrage, recommandations, entretien.
Meilleur prix bouchon de vase d'expansion Honda : comparatif, offres, promo, discount, marques, Valeo, Gates, qualité, garantie.
Symptômes bouchon vase expansion défectueux Honda Civic/CRV : pression excessive, fuite de liquide, vapeur, voyant température, odeur de liquide de refroidissement.
Entretien système de refroidissement Honda Civic/CRV : liquide de refroidissement, vidange, purge, radiateur, pompe à eau, thermostat, prévention des problèmes.
Honda Civic/CRV 2001-2005 : éviter les fuites liquide refroidissement : contrôle régulier, bouchon, durites, radiateur, entretien préventif, protection du moteur.
**Cap de Vase d'Expansion Honda Civic/CRV : La Solution Miracle (2001-2005) !**
BMW Série 1-7 : Lumières de Porte 3D LED Incroyables ! (Installation Facile !)My Honda Civic's Epic Battle with the Expansion Tank: A Love Story (and a LOT of Coolant) - (2001-2005)
Alright, buckle up, buttercups, because we're diving headfirst into the glorious, coolant-soaked world of the Honda Civic and CRV expansion tank, specifically the ones from the 2001-2005 glory days (or maybe, not-so-glory days, depending on your past). I'm talking about the little plastic jug that's supposed to catch all the overflow from your engine's cooling system. You know, the one that's probably given you more grief than your ex.
H2: Why Is This Little Plastic Jug Such a Big Deal Anyway? (And Why Did Mine Explode?)
Seriously, you might be thinking, "It's just a tank, right?" Wrong! This tiny piece of plastic is a vital organ in the delicate dance of your engine's temperature control. It's like the engine's little spittoon, catching the excess fluid when things get hot and then, ideally, sucking it back in when things cool down. But when things go wrong? Oh boy, do things go wrong.
H3: The Symptoms of Expansion Tank Mayhem: A Symphony of Steam and Sighs
Let's be honest, you've probably experienced at least one of these lovely symptoms:
- The Mysterious Low Coolant Level: You're constantly topping up your coolant. Like, every week. It’s like your Civic has a secret coolant-drinking habit.
- The Steam That Whispers of Doom: White smoke billowing from under your hood? Probably not a good sign. Unless you're a steam engine enthusiast. (In which case, you're in the wrong article!)
- The Overheating Tango of Death: The temperature gauge creeping relentlessly towards the red zone. Cue the panic, the frantic pulling-over, and the silent prayers to the engine gods.
- The Stains of Sadness: Coolant puddles under your car. They look suspiciously like tears. And, well, you might be shedding a few of your own.
- The Leaky Lid of Lies: The cap doesn't stay on anymore. It’s a flimsy piece of plastic that just gave up!
- The Cracked, Crumbling, Completely Screwed Tank: The grand finale. The plastic has deteriorated, turned brittle, and is now leaking like a sieve. Mine? Oh, it cracked so badly, it looked like a tiny, plastic volcano had erupted under my hood.
H3: The Root of the Problem: Why These Tanks Fail So Spectacularly
It all boils down to age, heat, and a whole lot of plastic degradation. Over time, the plastic gets brittle. The constant temperature fluctuations within the engine bay, from scorching summer days to freezing winter nights, take their toll. And, let's face it, the original Honda tanks weren't exactly built like tanks (pun intended, maybe). They’re more like delicate flower vases, waiting to shatter under pressure.
H2: The Miracle Solution: Replacing That Dang Tank!
Okay, so you've realized your expansion tank is toast. What now? Panic? Despair? Nope! (Okay, maybe a little panic is allowed). The good news is, replacing this little devil is actually a pretty straightforward DIY project. You can totally do this! I did and, trust me, if I can do it, you can too.
H3: Finding the Right Replacement: Don't Cheap Out (Unless You Want to Do This Again!)
This is where things get, well, opinionated. Yes, I said it.
You’ve got options. OEM (Original Equipment Manufacturer) from Honda, a good bet but will still cost you a pretty penny. Aftermarket options. Some are fine, some are…less fine. My advice? Do your research. Read reviews. Look for tanks made of high-quality plastic and with good build quality. You don't want to save a few bucks only to have the new tank fail in six months. I made that mistake once. Never. again. Avoid the cheap stuff like the plague. Seriously, it is a pain.
H3: The DIY Install: My Coolant-Soaked Adventure (and How You Can Avoid My Mistakes)
Okay, full disclosure: the first time I did this, I made a mess. A big mess. Coolant EVERYWHERE. But hey, that's how you learn, right? Here’s a simplified version of what you’ll need to do (and how to avoid my amateur errors):
- Gather Your Weapons: New expansion tank (duh!), new coolant (Honda genuine is best, but other compatible brands are available), a wrench or two, a screwdriver, some towels (so many towels), and a drain pan (for the coolant, ideally).
- Let It Cool Down (Very Important!): Don’t even think about touching your engine while it’s hot. Seriously, wait until it's completely cool. You don't want to get a face full of boiling coolant, trust me.
- Drain the Coolant (Carefully!): Locate the drain plug on the bottom of your radiator (check your car's manual – it's different for every vehicle). Place your drain pan underneath. Unscrew the drain plug and let the coolant flow out.
- Remove the Old Tank: This is usually held in place by a few bolts or clips. Loosen them, disconnect the coolant hoses (have those towels ready!), and pull the old tank out.
- Install the New Tank: Place the new tank in the same location. Connect the hoses.
- Refill with Coolant: Slowly pour fresh coolant into the radiator and the new expansion tank. Don't overfill! There should be a fill line on the tank.
- Burp the System: This step is crucial! Start your engine and let it run for a few minutes. Keep an eye on the coolant level in the expansion tank. As the engine warms up, air pockets may work their way out, and the coolant level may drop. Add more coolant if necessary.
- Check for Leaks (Vigilantly!): After a few test runs, check for any leaks around the hoses and the tank. If you see anything, get the wrenches out and tighten those clamps.
- Clean Up the Mess (This is a Given!): Now, the most important part. Clean up all the spilled coolant.
- The Test Drive, and the Victory: Take it for a spin. Drive it around the block. See how it goes.
H3: Avoiding Lesson 101: My Coolant Flood and the Importance of Patience
My first time? Oh, boy. I was rushing. I spilled coolant everywhere because I didn't let the engine cool down, and I wasn't careful enough with the hoses and clamps. I flooded the engine bay with coolant. And then I got a face full of the stuff. The smell… it was a disaster. Take it from me: patience is a virtue, especially when dealing with hot engines and potentially flammable fluids. Slow and steady wins the coolant race!
H2: The Joy of a Working Expansion Tank: Peace of Mind (and No More Steam Parties!)
Once you've replaced that tank, you're rewarded with… peace of mind. Really! Watching the coolant level remain stable, not seeing those ominous steam clouds, and no longer having to top up every other day feels amazing.
H3: Beyond the Expansion Tank: Other Considerations for Cooling System Health (Because Let's Be Thorough!)
While you're at it, consider giving your whole cooling system a checkup:
- Radiator Cap: This little guy is responsible for maintaining the correct pressure in the system. If it’s old or worn, replace it.
- Hoses: Check your hoses for cracks, bulges, or leaks.
- Thermostat: This regulates the engine temperature.
- Water Pump: This is what makes the coolant circulate.
H2: The Final Thoughts: So, Get to It!
Replacing your Honda Civic/CRV expansion tank is a manageable project that can save you money, headaches, and the potential for major engine damage. Don't let this seemingly small problem get you down! Embrace the challenge. You might even learn a thing or two (and make a mess or two). Good luck, and happy wrenching!
FAQ's Ébouriffées sur le Cap de Vase d'Expansion Honda Civic/CRV (2001-2005) - La Vérité, Enfin !
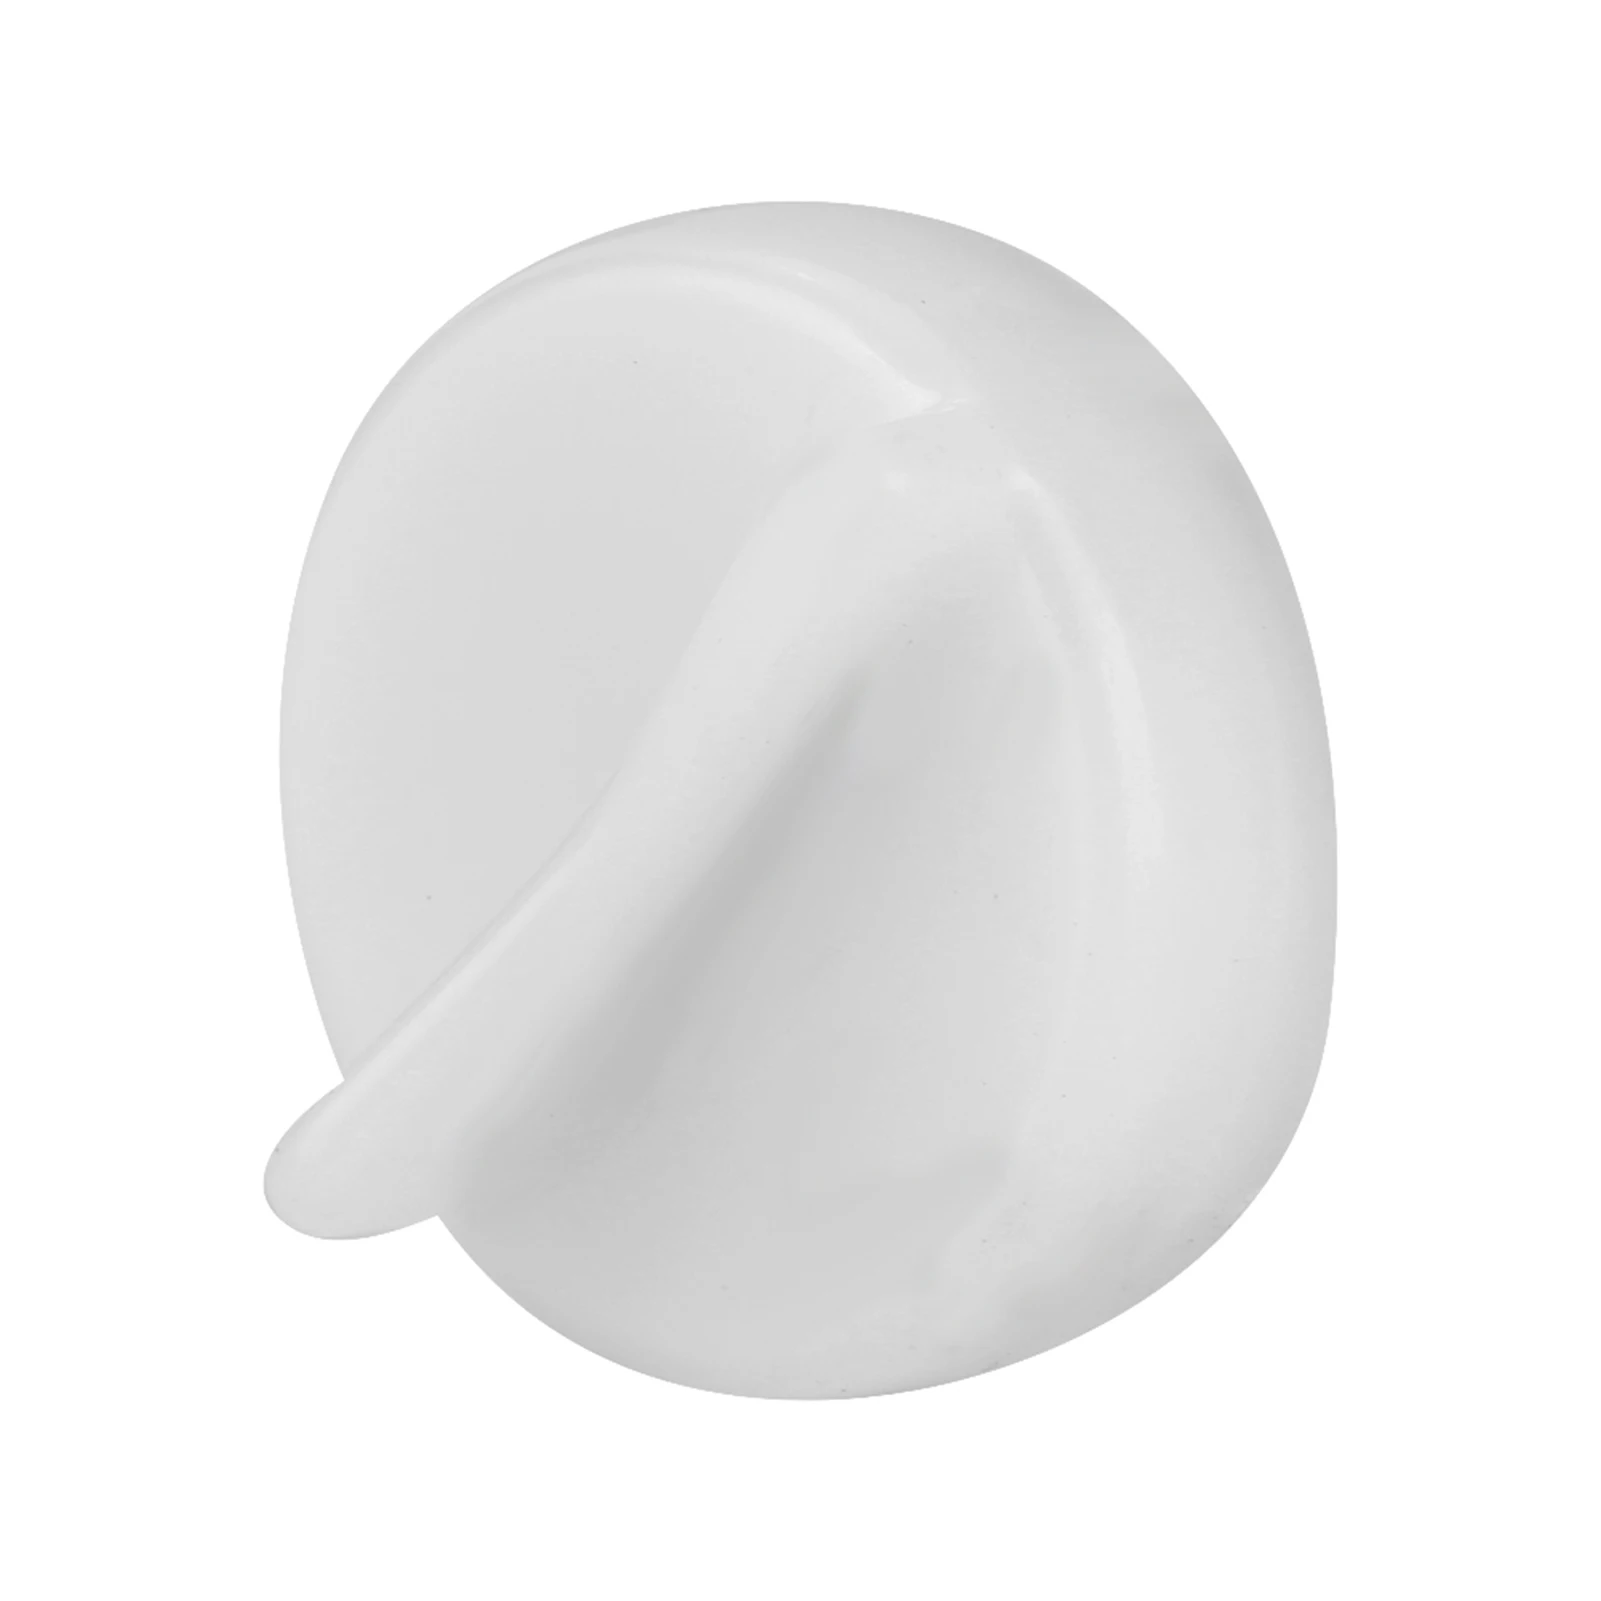
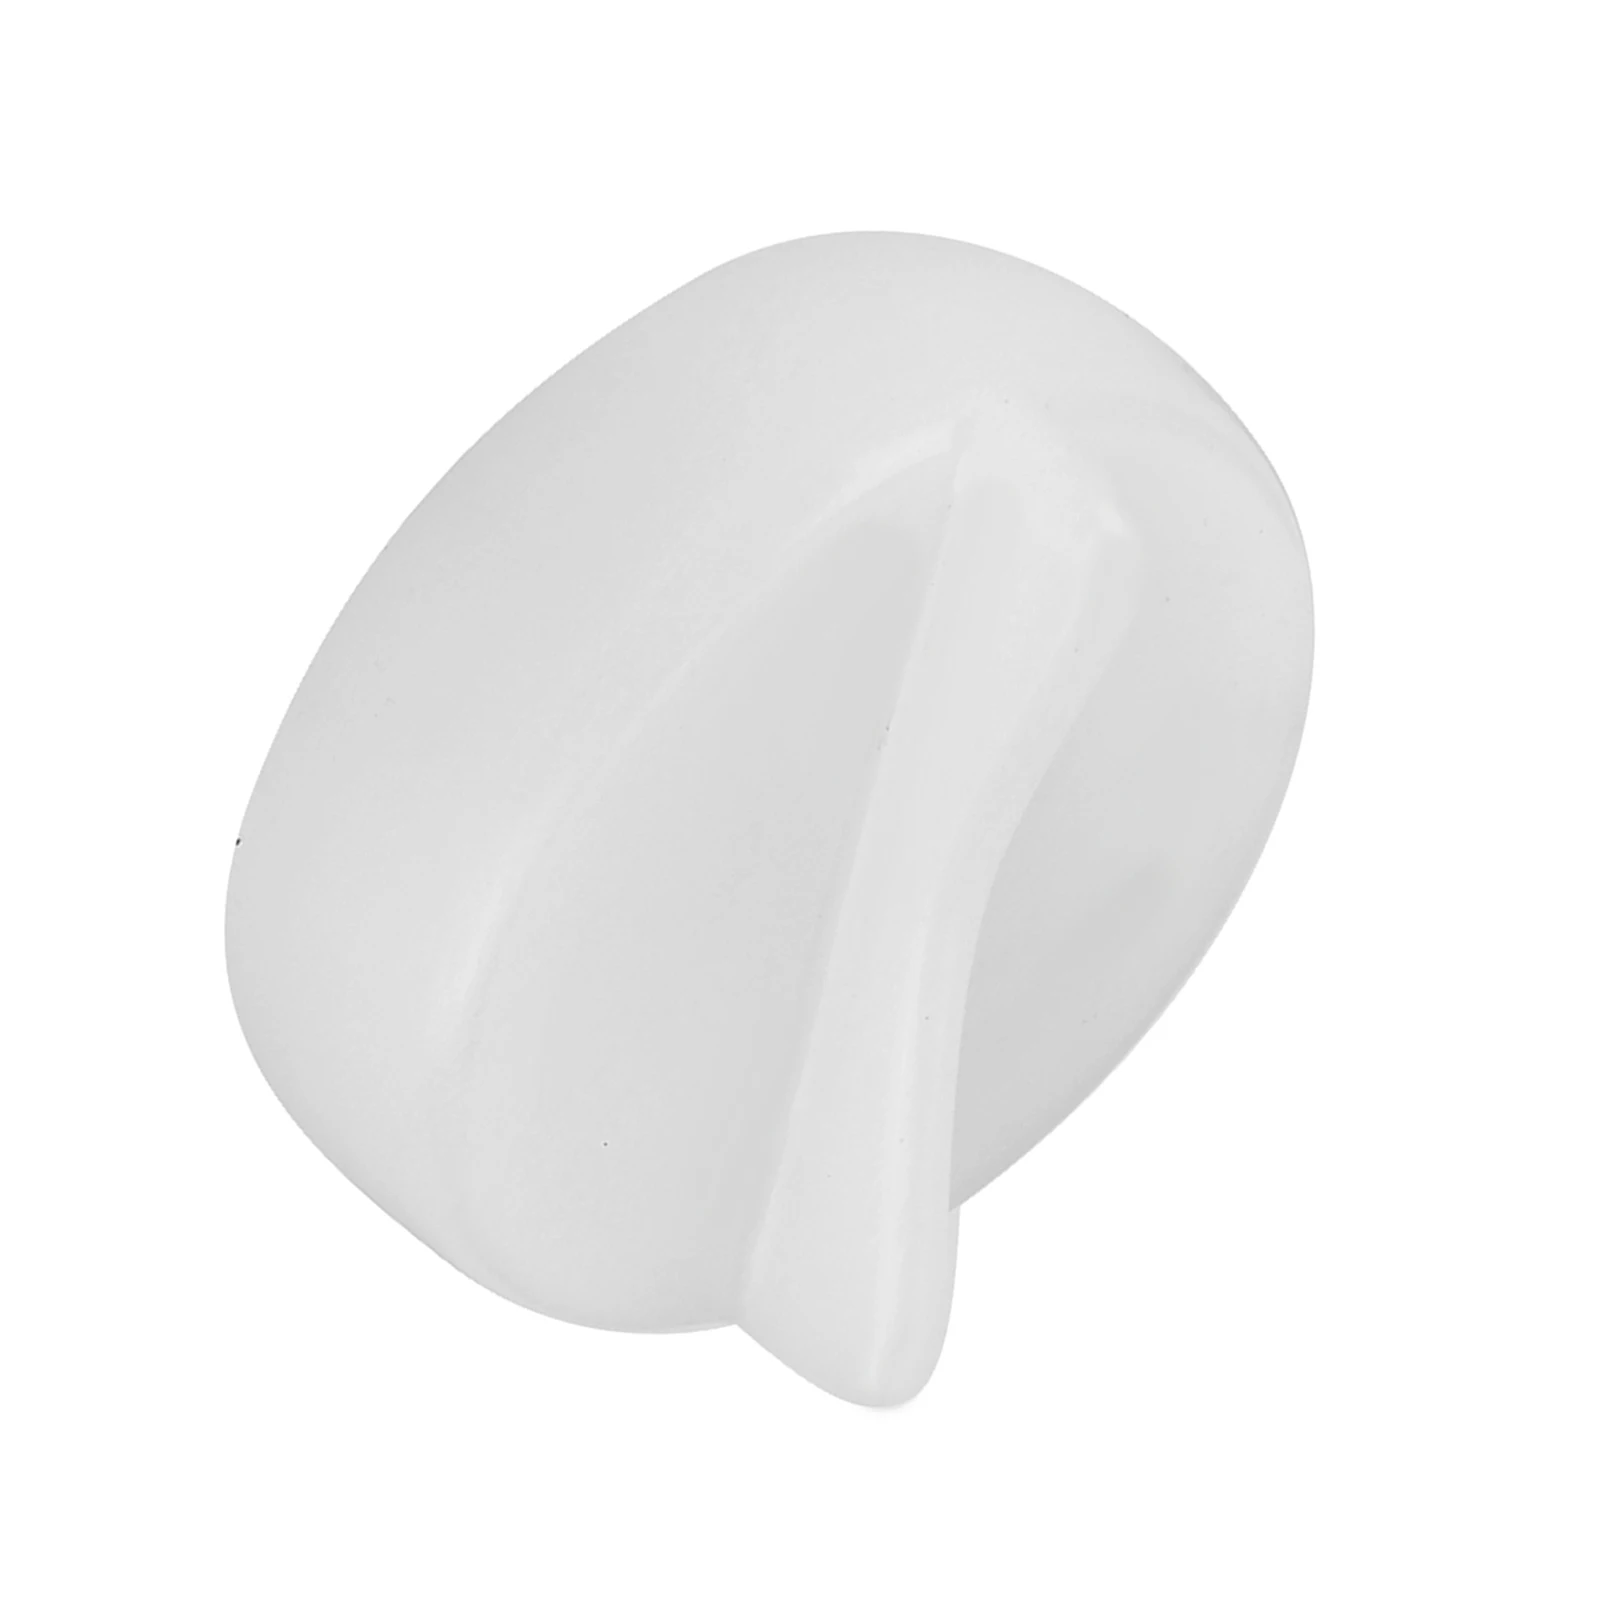
1. C'est QUOI, ce cap de vase d'expansion ? On parle bien du petit bouchon en plastique, là ?
Ah, le fameux CAP! Oui, on parle bien de CE truc insignifiant en apparence. Celui qui, à première vue, ne fait rien de spécial... sauf peut-être fuir, se fissurer, ou carrément devenir invisible (oui, ça m'est arrivé, un jour, la magie des Honda)... Mais bon, ce petit bouchon, c'est le gardien du temple ! Il maintient la pression dans le système de refroidissement. Sans lui... BOOM! Sur-chauffe, tu dis ? C'est clair ! Et les galères qui vont avec... Donc ouais, c'est LE bouchon. Celui qui peut te sauver la vie (et le moteur). Ou pas. Ça dépend.
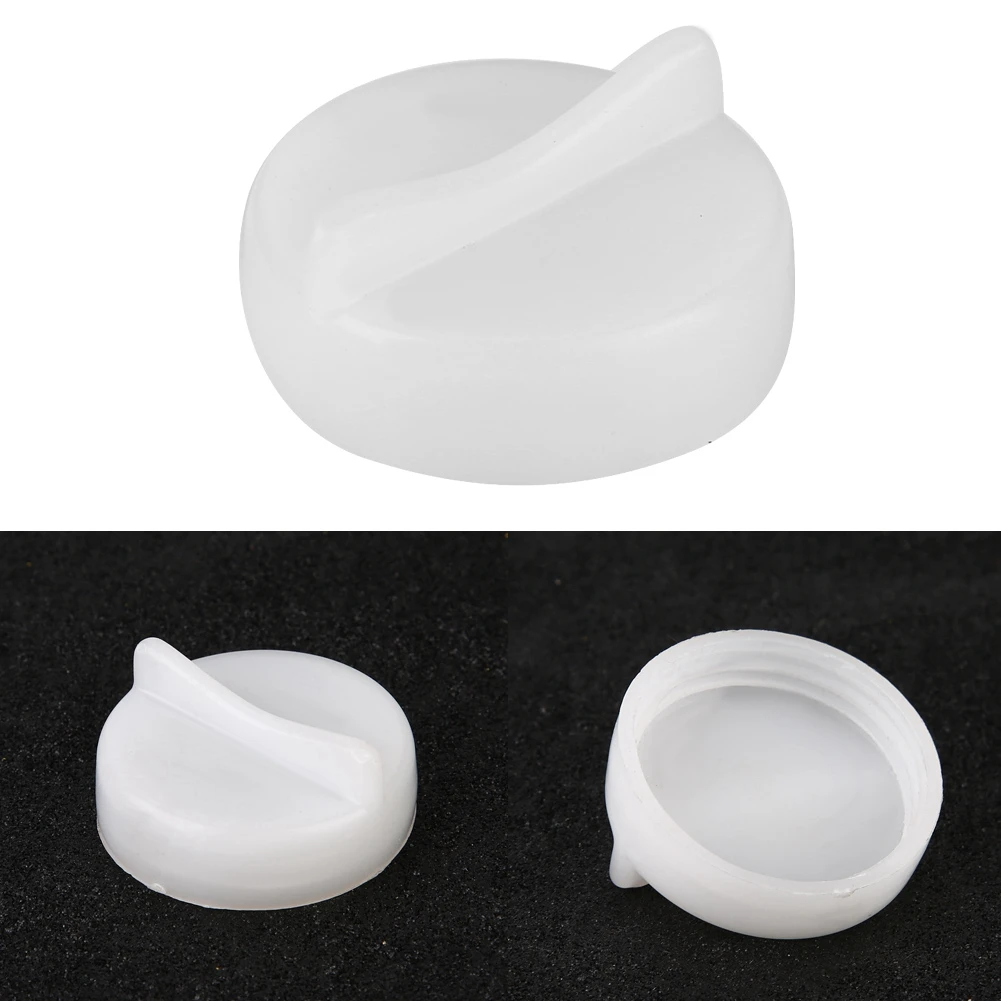
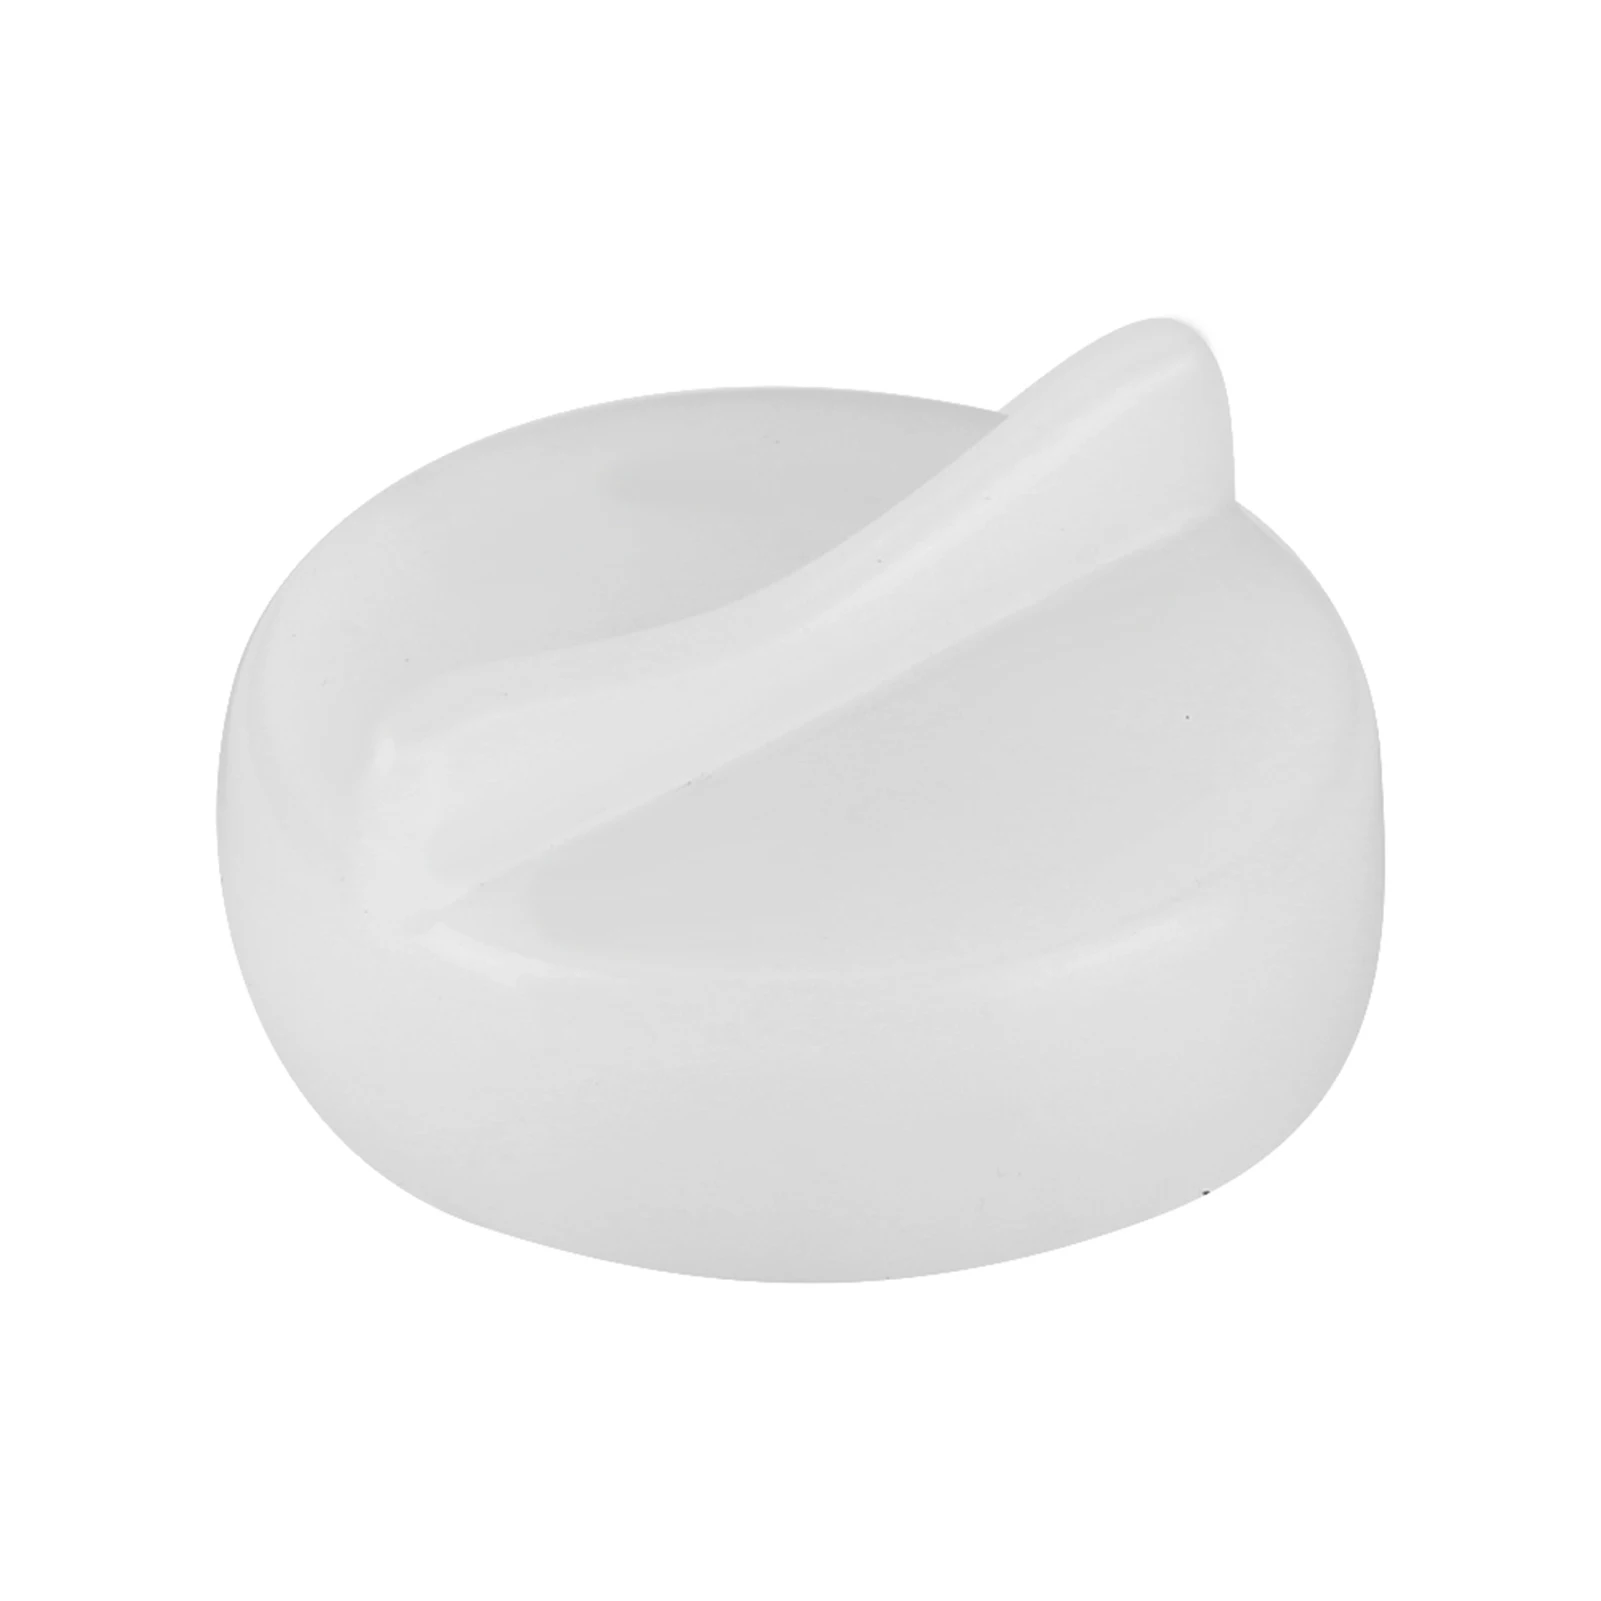
2. Pourquoi celui d'origine de ma Civic/CRV est-il un tel *caca* ? (Excusez le mot)
Oh, la question qui tue ! Écoutez, je vais être honnête : Honda a *peut-être*, et je dis bien *peut-être*, économisé sur la qualité de ces bouchons. On dirait qu'ils sont faits en plastique recyclé récupéré au fond d'une poubelle. Ils vieillissent mal, craquent avec le temps, se déforment, et... la pression, la pression... C'est un peu comme la vie, quoi. Ils n'aiment pas trop la chaleur, ni le froid intense. Et ils n'aiment pas non plus être oubliés. Et le remplacement ? Une corvée !
Anecdote perso (et je vous jure, c'est VRAI) : Ma Civic, un jour, a commencé à fumer comme une locomotive. On était en plein été, sur une route de campagne, loin de tout. J'ouvre le capot (avec appréhension, j'avoue), et qu'est-ce que je vois ? Le bouchon... parti. Disparu. Parti en week-end, peut-être ? Bref, j'ai du rester coincé là pendant des heures à attendre le dépanneur dans un état de stress intense. Depuis, je vois les bouchons avec un autre regard. On crée des liens, vous voyez. Ou pas.
3. Ce "cap miracle", il est vraiment miracle ? C'est pas une arnaque, quand même ?
"Miracle"... C'est un peu exagéré, hein ? Disons que c'est une *bonne* solution. Meilleure que l'original, c'est certain. En général, ces "caps miracles" sont fabriqués avec des matériaux plus résistants. Ils tiennent mieux la pression, ils craquent moins vite... Mais soyons clairs, il n'y a pas de baguette magique ! Si votre système de refroidissement est complètement pourri, le bouchon ne va pas réparer les durites percées, la pompe à eau fatiguée, ou le radiateur bouché. Ça aide, c'est tout. C'est comme un pansement sur une plaie béante, quoi.
Note importante : Si votre voiture chauffe encore *après* avoir installé ce cap, il y a un PROBLÈME. Faut pas hésiter à aller chez un garagiste (et pas celui qui vous a vendu le bouchon, hein). On a besoin d'un diagnostic sérieux !
4. Comment je sais si mon bouchon est mort ? Y a-t-il des signes avant-coureurs qui me mettent la puce à l'oreille ?
Oh oui, des signes, y'en a plein ! Le plus évident : des fuites de liquide de refroidissement. Si vous voyez des traces vertes ou roses (ça dépend du liquide) sous votre voiture, ou autour du bouchon, c'est mauvais signe. Ensuite, regardez l'état du bouchon lui-même. Est-il craquelé ? Déformé ? S'il semble avoir subi un attentat à la bombe, c'est qu'il faut le virer. Et puis, il y a l'odeur... Si vous sentez une odeur de liquide de refroidissement chaude et sucrée, c'est pas bon.
Anecdote rigolote (mais stressante) : Une fois, j'ai remarqué que le niveau de liquide baissait sans raison apparente. Pas de fuites, pas de fumée... Je me grattais la tête. Et puis, un jour, en ouvrant le capot après un trajet, J'AI ENTENDU UN 'PSHHHHHHHH' monumental. Le bouchon était mort, et faisait son petit travail, je vous dis ! Une vraie bombe à retardement !
5. Où est-ce que je peux acheter ce fameux cap miracle ? Chez Honda, chez un revendeur auto ?
Alors, là, ça dépend ! Honda ? Peut-être... mais ils ne vendent pas toujours le "miracle", ils vendent surtout le bouchon d'origine. Les revendeurs auto... oui, souvent. Mais le plus simple, souvent, c'est sur Internet. Ebay, Amazon... Vous tapez "cap vase d'expansion Honda Civic" (ou CRV, selon) et vous devriez trouver votre bonheur. Mais attention aux contrefaçons ! Lisez les avis des autres acheteurs. Et si le prix est trop beau pour être vrai, méfiez-vous... C'est un peu comme les rencontres amoureuses. Si c'est parfait, il y a anguille sous roche !
6. Facile à installer, ce truc ? Je suis une quiche en mécanique...
Généralement... OUI. Si vous savez ouvrir un capot et dévisser un bouchon, vous êtes bon ! Dévissez l'ancien, vissez le nouveau. Simple comme bonjour. Mais ATTENTION : NE JAMAIS ouvrir le bouchon sur un moteur chaud! Risque de brûlures graves ! Attendez que le moteur refroidisse complètement. Sinon, vous allez pleurer (et pas de joie).
Anecdote pour les nuls (moi, parfois) : Une fois, j'ai voulu faire le malin, et j'ai ouvert le bouchon alors que le moteur était *encore* chaud. J'ai eu droit à une fontaine de liquide bouillant qui m'a éclaboussé. Résultat : une brûlure légère, une leçon d'humilité, et une peur bleue de tout ce qui ressemble de près ou de loin à un bouchon. Donc, oui, facile à installer... mais soyez prudent!